I’m always waiting for special occasions to get back into the kitchen to bake especially for my dear friend’s most adorable baby girl ♥ Thanks Angela & Maddy for the preview pics!
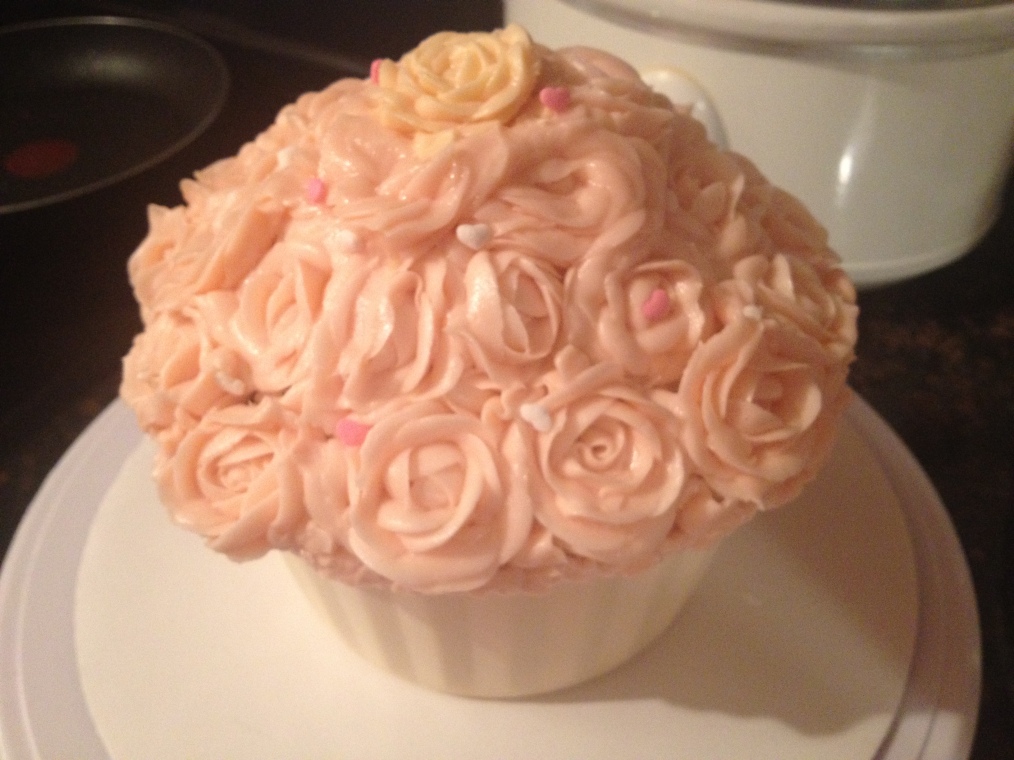
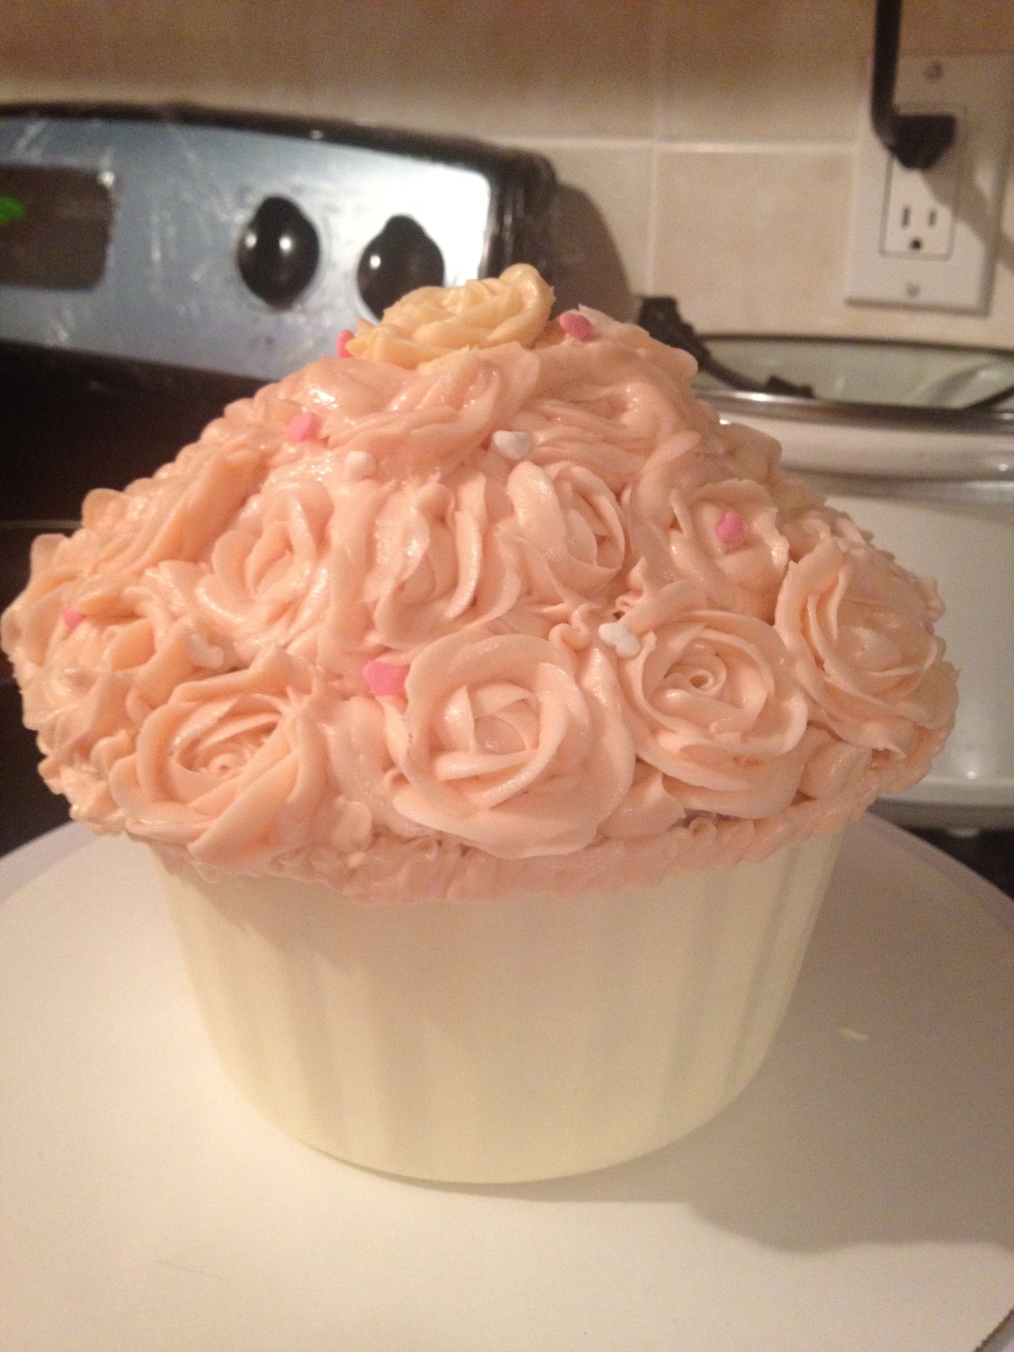
Since it was for her cake smash photo session, we went with a giant pink and white cupcake to match her outfit and it was an amazing challenge for myself as well just to do something a bit different from the usual cakes! Everytime I finish frosting the cake to prepare it for decorations to come, I get a bit excited. I just absolutely love decorating cakes! With a glass of wine would be the cherry on top 😉
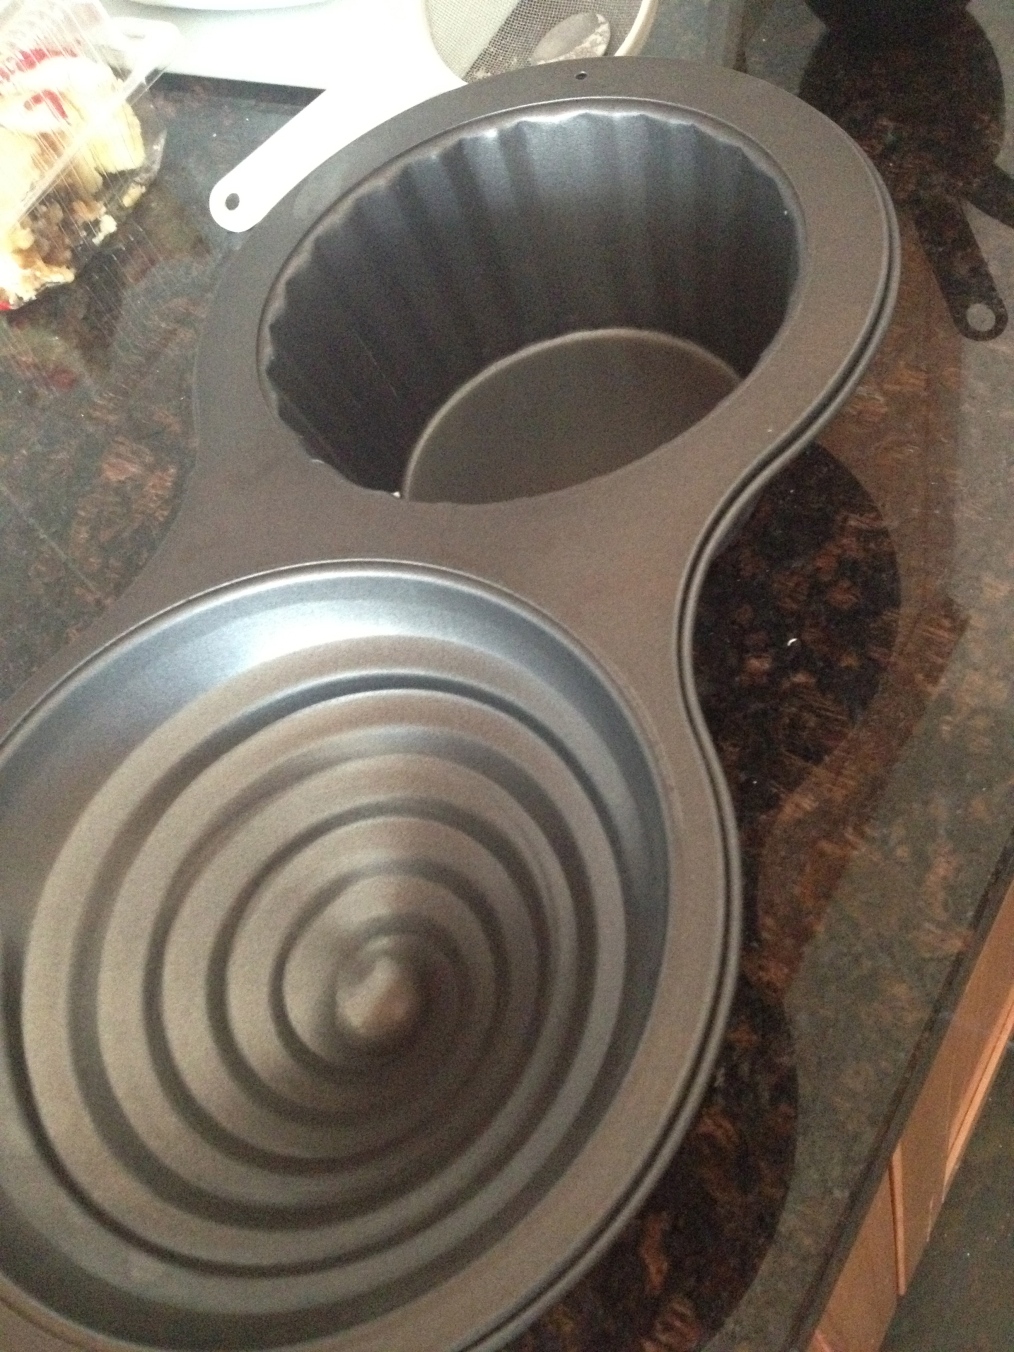
I found this brilliant giant cupcake mould that I just couldn’t resist and after a bit of researching online, I decided that a chocolate mould as the cupcake liner would be prettiest for this cake. I started to melt some white chocolate (note: I wanted to find some cute pink candy melts but it was not avail!! And when I got home and realized water-based food coloring is a no-go for coloring melted chocolate, I had no choice but to go au natural! Seems powdered-based food coloring hits the spot for melted chocolate).
Next, I did a series of hit-and-miss roses and carefully placed them onto the cake with scissors, one at a time- must check out this video for those of you who wanna give this a go, it’s AMAZING!! It did take me a while but I think I got the hang of it after several hours!!
So here’s a step-by-step for my creation (Instructions from CakeCentral.com):
Giant Pink Roses Cupcake
Directions:
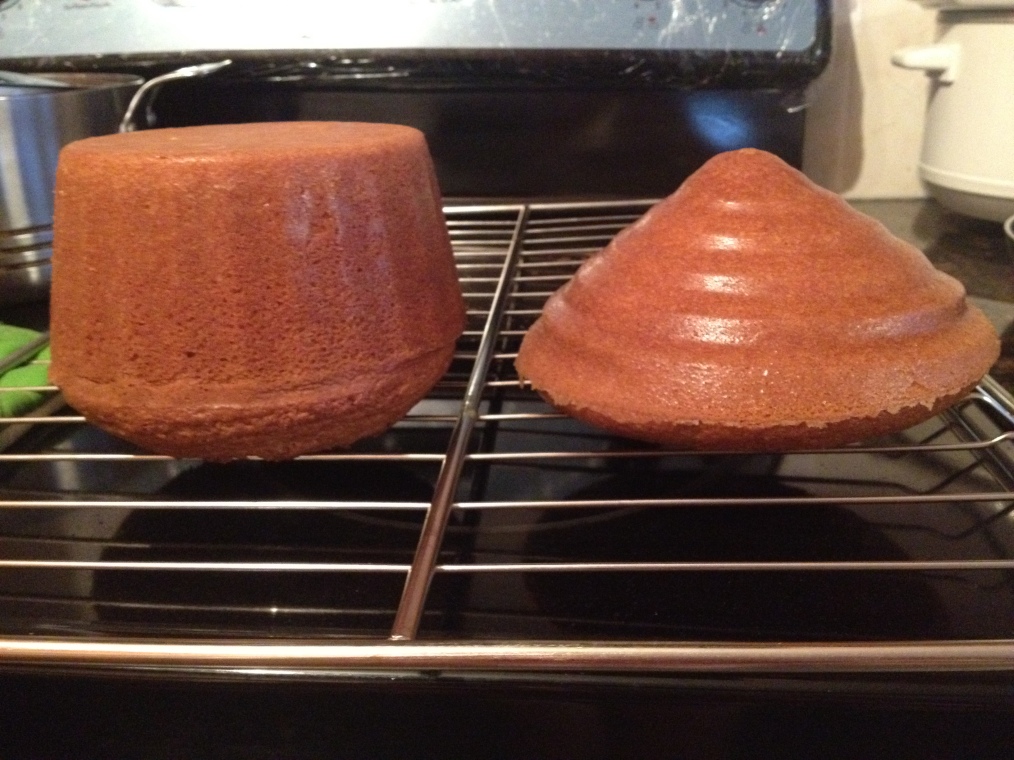
1. Bake a cake! I made this basic vanilla cake and you can pretty much use any kind of cake recipe. Pour batter into the giant cupcake pan and I baked for around 50 – 55 minutes at 350 degrees celsius. Both the top and bottom came out perfect at the same time! Be sure to grease the pan and for added safety measure, you can line the bottom of the base part with parchment paper.
2. Make your cupcake liner while your cake cools! Always make sure your cake is completely cooled before you frost it for best results. Once out of oven, let it cool in the pan for 15 minutes, then take it out and rest on cooling rack for around 30 minutes or so.
Cupcake Chocolate Liner:
Ingredients:
– Candy melts/ Chocolate chunks or chips
– Giant cupcake pan
– Spatula (or just your fingers!)
Directions:
1. Melt 1/4 a bag of candy melts/ chocolates
2. ‘Paint’ a thin layer of chocolate into the cake tin base (I went with the finger method)
3. Ensure you get the chocolate into all the grooves and you can drop the pan an inch or so down a couple of times to make sure you don’t have any air bubbles.
4. Put it in the fridge to set for at least half an hour.
5. Melt the rest of the bag of candy melts/ chocolates (you may also keep a little aside to attach the cake to the cake board).
6. Remove the tin from the fridge and ‘paint’ the rest of the melted chocolate in the tin. You can use a silicone spatula for ease or fingers work well as well! you can also hold the tin and rotate it around to evenly coat but just make sure you do this in a speedy manner to ensure the chocolate won’t set before you’re done! Push firmly to ensure you don’t get any airbubbles again.
7. Return pan to the fridge for at least 1 hour to set properly.
3. TIME for preparing the cake! Carve the bottom of the giant cupcake so that it doesn’t have any grooves left and is slightly smaller so that it will fit properly into the chocolate shell. Cut in half and add buttercream (I used my vanilla buttercream recipe) to the middle of the cake. Then stack both halves back together and frost the entire cake with buttercream.
4. Put the cake in the fridge for half an hour for the icing to harden and set.
5. When the chocolate shell has set in the fridge for an hour, take it out and hold the shell on each side with your fingers, add a little pressure pushing against the chocolate and pan and pull up (you will hear a little crack/pop sound as it comes loose) if this doesn’t happen put it back in the fridge to set longer. Note: I read that some people have a hard time getting it out after chilling the shell in the fridge for a long time and in this case, you might want to let it rest in room temperature to soften for 5 minutes or so before trying to pop it out again.
6. Get you iced cake out of the fridge and picking it up gently, drop it into the chocolate shell.
7. Next comes the top part of the cupcake! I found this video highly helpful! You hold onto the tip part and add buttercream onto the bottom as well as covering the edges around it to ensure you cover the entire cake. Then pop it onto the bottom cake.
8. Then be creative! You can pipe around the cake and add buttercream roses or you can do ruffles, or decorate with marshmallows, or edible glitter- there are so many ideas for a giant cupcake creation!
ENJOY!!!


